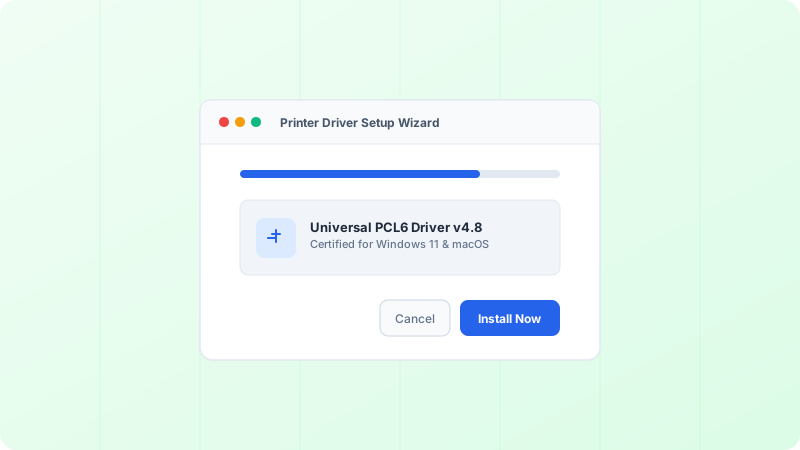
Drivers act as the vital translator between your operating system and your printer. When a driver is outdated, corrupted, or incompatible after an OS update, you will experience printing errors, missing duplex options, or blank pages. Here is how to install clean, official drivers safely.
Why This Problem Happens
- Generic Windows plug-and-play drivers lack manufacturer-specific features like scanner controls and color management.
- Major Windows 11 feature updates often invalidate older 32-bit legacy printer drivers.
- Incomplete printer uninstalls leave orphaned registry keys that block fresh driver installations.
Step-by-Step Troubleshooting Procedure
Step 1: Identify Your Exact Printer Model and Operating System Version
Objective: Check the physical label on your printer to ensure you download the exact matching driver.
- Look at the front or top sticker of your printer (e.g., HP OfficeJet Pro 9015e, Canon PIXMA TR8620a, Epson EcoTank ET-2850).
- In Windows: Press Windows Key + Pause/Break or go to Settings > System > About to see whether you have Windows 11 or Windows 10 (64-bit).
- On Mac: Click Apple menu > About This Mac to check your macOS version (e.g., Sonoma, Sequoia).
Step 2: Download Official Drivers Directly from the Manufacturer
Objective: Never use third-party “driver updater” utility programs.
- Go directly to the official manufacturer support portal: hp.com/support, usa.canon.com, epson.com/support, or brother-usa.com/support.
- Type your printer model into the search box.
- Select your detected operating system version.
- Choose the “Full Feature Software and Driver” or “Basic Driver Package” and download the installer executable.
Never download printer drivers from random search engine ads or third-party download sites. These often bundle adware, unwanted browser extensions, or incorrect driver packages.
Step 3: Uninstall Any Old Driver Software Completely
Objective: Prevents driver conflicts between older versions and the new package.
- In Windows: Open Settings > Apps > Installed apps. Locate any previous software for your printer brand and click Uninstall.
- Open Device Manager, expand “Print queues” and “Printers”, right-click your printer and select “Uninstall device”. Check “Attempt to remove the driver for this device”.
- Restart your computer before running the new installer.
Step 4: Run the Official Installer and Follow Setup Prompts
Objective: Connect your printer only when the software specifically asks you to do so.
- Double-click the downloaded setup file.
- Choose your connection type: Wireless (Wi-Fi), Wired Ethernet, or USB Cable.
- If using USB: keep the cable UNPLUGGED until the installer wizard prompts “Connect your printer now”.
- Complete the on-screen configuration and allow the driver to register print services.
Step 5: Print a Windows or Mac Test Page
Objective: Verifies the driver is communicating bidirectional data with the printer hardware.
- Go to Settings > Bluetooth & devices > Printers & scanners > your printer.
- Click “Print test page”.
- Confirm that the test page prints cleanly with crisp text and accurate color alignment.
Verified Troubleshooting Tips
- If the installer fails to discover your wireless printer, temporarily connect via USB to transfer Wi-Fi credentials.
- For older printers without Windows 11 drivers, install the Windows 10 64-bit driver using “Compatibility Mode”.
Frequently Asked Questions
What is the difference between a basic driver and full feature software?
A basic driver only enables core printing and scanning. Full feature software includes extra tools such as ink level monitors, photo printing utilities, OCR scanning, and wireless network setup diagnostics.
Do I need drivers for Mac AirPrint?
No! If your printer supports Apple AirPrint, macOS does not require vendor drivers. Simply select “AirPrint” or “Secure AirPrint” when adding the printer.