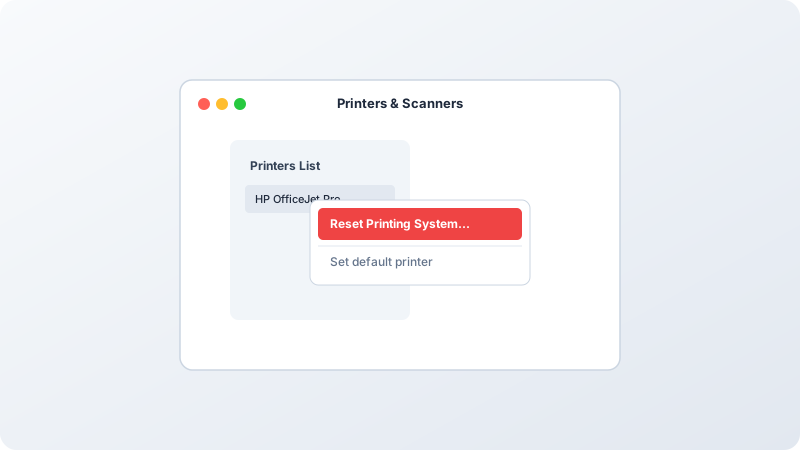
When your Mac repeatedly fails to send jobs to a printer, queues get stuck, or printers disappear after system updates, resetting the core printing architecture (CUPS) provides a 100% clean slate.
Why This Problem Happens
- Corrupted CUPS configuration file (/etc/cups/printers.conf) after a major macOS upgrade.
- Conflicting legacy third-party manufacturer drivers interfering with Apple AirPrint daemon.
Step-by-Step Troubleshooting Procedure
Step 1: Open Printers & Scanners in System Settings
Objective: Navigate to device management.
- Click the Apple logo at the top left of your screen and select System Settings.
- Scroll down in the left sidebar and click Printers & Scanners.
Step 2: Execute the Printing System Reset Command
Objective: Purge system spooler preferences.
- Right-click (or Control-click) anywhere in the empty list area of the Printers list.
- Click “Reset Printing System…” from the contextual menu and enter your administrator password to confirm.
Action Warning
This action removes all existing printers and scanners from your Mac. You will need to re-add them afterward.
Step 3: Re-add Your Printer Using AirPrint
Objective: Establish driverless discovery.
- Click “Add Printer, Scanner, or Fax… (+)”.
- Select your printer from the list, ensure “Use” is set to “AirPrint” or “Secure AirPrint”, and click Add.
Verified Troubleshooting Tips
- If your printer does not appear in the Add sheet, restart your Wi-Fi router and verify both Mac and printer share the same Wi-Fi network.
- Check the web-based CUPS interface by typing http://localhost:631 into Safari.
Frequently Asked Questions
Will resetting the printing system delete my saved documents?
No. Only queue entries, printer presets, and connection records are refreshed.