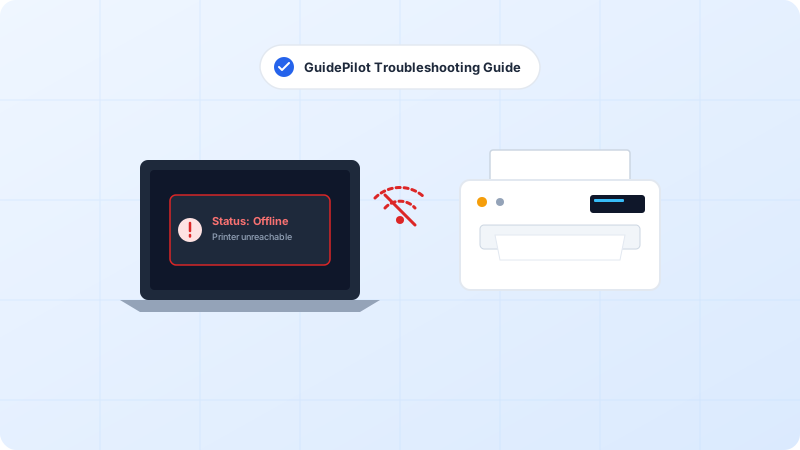
Did you recently change your Wi-Fi router, update your network name (SSID), or get a new internet provider? When that happens, your wireless printer loses its connection. This guide walks you through the 3 most reliable ways to connect any printer to your new Wi-Fi network.
Why This Problem Happens
- New Wi-Fi routers come with a new network name (SSID) and security password.
- Modern Wi-Fi 6 / 6E routers default to WPA3 or 5 GHz only, while older printers require WPA2-PSK and 2.4 GHz bands.
Step-by-Step Troubleshooting Procedure
Step 1: Method 1: Connect via Printer Touchscreen Control Panel
Objective: The easiest method if your printer has an LCD screen.
- On your printer screen, touch the “Settings”, “Gear”, or “Wireless” icon.
- Navigate to Network Settings > Wireless Settings > Wireless Setup Wizard.
- Your printer will search for local broadcasts. Select your home Wi-Fi network name from the list.
- Enter your Wi-Fi password carefully using the on-screen keypad (remember that passwords are case-sensitive).
- Press Done or OK. Wait for the confirmation message and check that the Wi-Fi light is solid blue.
Look for the shift arrow (↑) or “123/#” key on touchscreen printers to toggle between uppercase, lowercase, and special characters.
Step 2: Method 2: Connect Using Wi-Fi Protected Setup (WPS Button)
Objective: Ideal for printers without a display screen (buttons only).
- Locate the WPS button on your home Wi-Fi router (often labeled WPS or marked with two curved arrows).
- On your printer, press and hold the Wireless button for 3 seconds until the light starts blinking rapidly.
- Within 2 minutes, press and hold the WPS button on your router for 3 to 5 seconds.
- The router and printer will securely negotiate credentials. Once connected, the printer wireless light will stay solid.
Some newer ISP routers (like newer Xfinity or AT&T gateways) disable WPS for security. If your router lacks a physical WPS button, use Method 1 or 3.
Step 3: Method 3: Connect Using Manufacturer Mobile App (HP Smart, Canon PRINT, Epson iPrint)
Objective: Use your iPhone or Android phone to transfer Wi-Fi settings over Bluetooth.
- Download the official app for your printer: HP Smart, Canon PRINT Inkjet/SELPHY, or Epson Smart Panel.
- Put the printer into Wi-Fi Setup Mode: press and hold the Wireless and Cancel buttons simultaneously for 3 seconds.
- Open the app on your phone with Bluetooth enabled, tap “+ Add Printer”, and select your printer.
- Follow the on-screen instructions to automatically share your phone’s current Wi-Fi network with the printer.
Verified Troubleshooting Tips
- If your printer cannot discover the Wi-Fi network, ensure your router broadcasts a 2.4 GHz band. Separate your 2.4 GHz and 5 GHz networks in router settings.
- Place the printer within 15 feet of the router during initial setup to ensure a strong handshake signal.
Frequently Asked Questions
Why does my printer not see my 5GHz Wi-Fi network?
Over 80% of consumer printers only contain 2.4GHz Wi-Fi chips to reduce cost and power draw. Enable 2.4GHz on your router or create a dedicated 2.4GHz IoT network for home devices.
How do I know if my printer is connected to Wi-Fi?
Look at the Wi-Fi LED indicator on the printer body. A solid light means it is actively connected to a network; a flashing light means it is still searching or attempting to connect.